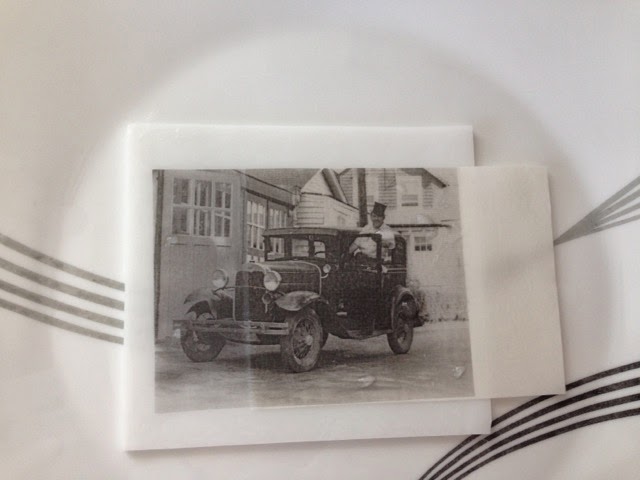
So, find some black and white photos to try out. This process reminded me that I am supposed to be writing up all my mother's genealogy work, and I spent a couple of days exploring things such as the passenger ship my dad first went to India on. I seem not to have got copies of all the pictures I remembered seeing, so they probably haven't made it out of my mother's photograph albums into the digital world. I do have one nice picture of my Grampa with a swanky car, wearing a top hat. I printed four copies of this, and also some signatures. I thought they may work as additions to bigger pieces I make so am testing them at the same time.
After printing the images onto the paper you cut them out and soak them in warm water for a couple of minutes until you can feel the image coming loose from the backing paper.
 |
| soaking photo in clean warm water |
 |
| sliding photo onto glass |
Fire in a kiln. The guidance suggest using the photographs on the last stage of any firing process. I had thought I would make a load of images and have them ready fired on pieces of glass to add to projects, but it would be better to keep the photos handy and transfer them onto glass projects before any final shaping. As the transfer paper is the expensive bit of this process it makes sense to fill the page with lots of images before printing. I haven't seen anything which suggest these images must be used promptly once printed.
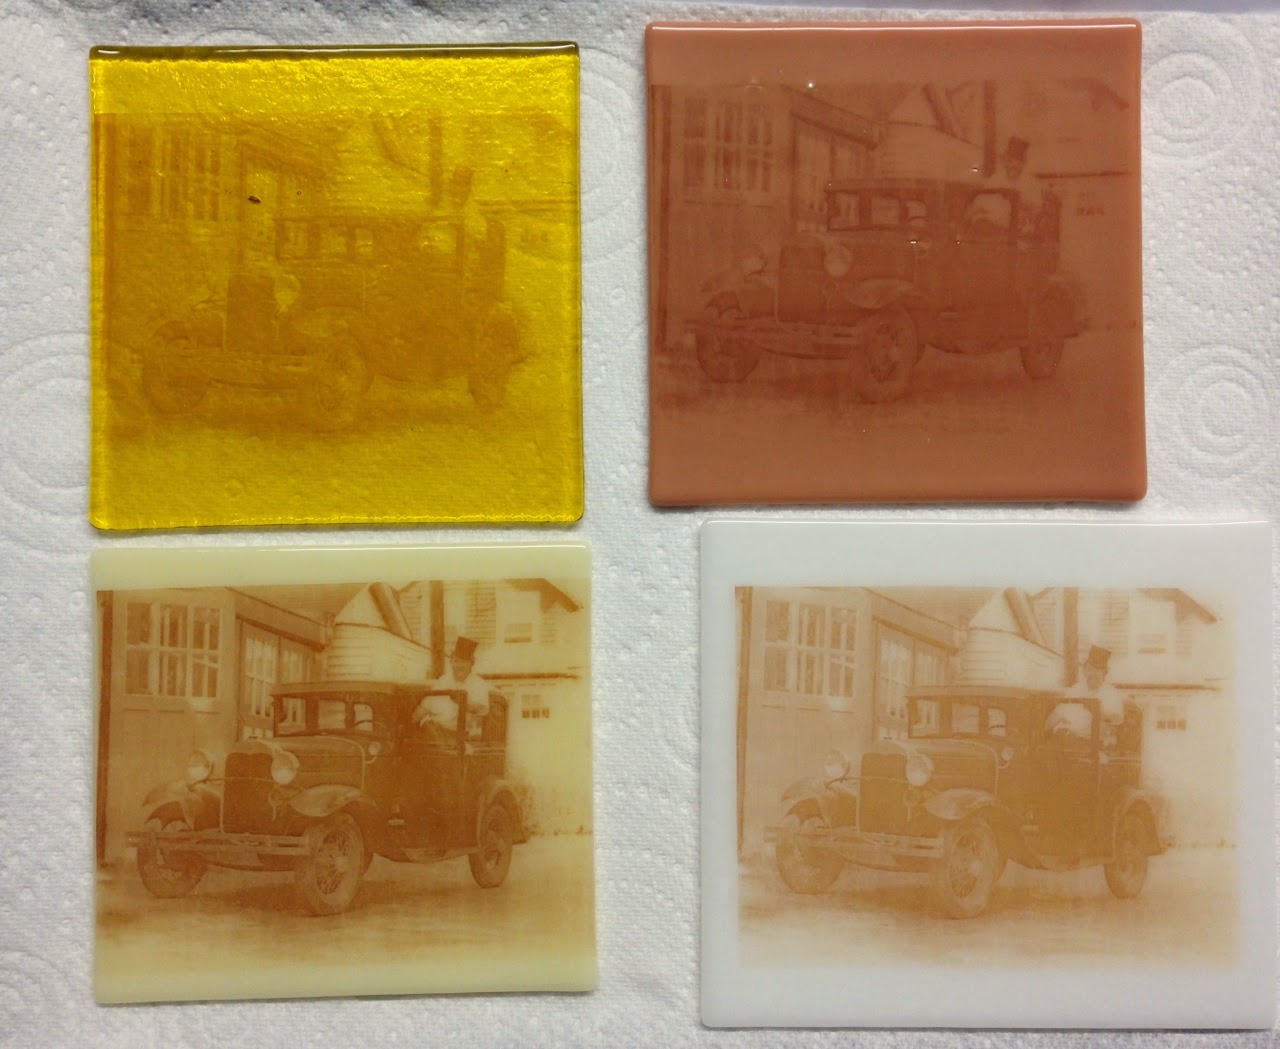
I used four different types of glass. The guidance said the images worked best on pale opaque or pale transparent glass. I used my usual white, a pale creamy coloured glass, and two transparent glasses I didn't know much about as I got them in an end of stock sale. I fired them on the cycle I use for my Bullseye landscapes, which makes all the glass stick together but keeps the edges crisp and the texture clear.
Stage Rate C/hr Temp C Hold mins
1 222 677 30
2 333 750 10
3 AFAP 482 60
4 83 371 End
I filled in the gaps with some other small pieces.
The glass changed colour quite a bit - with the pale yellow glass becoming a deep golden colour and the pinkish semi transparent becoming an opaque peach. These glasses may become even deeper colours if fired higher. There are some types of glass that change with heat, called strikers, as, to keep them reliable in the studio they are made with less heat in the forming stage.
The photo on the white is easy to see, as is the cream. The cream tones suit the sepia of the image and the subject matter very well. The peach glass looks a bit weird. The golden translucent glass is stunning, and the image shows well enough with a white background but it gets lost against a mottled dark background.
This is certainly a technique I shall use some more. The challenge is to think of ways to use it which are more interesting than just printing flat images on plain glass.


