Friday 2 January 2015

Sgraffito challenge Day 2 - draw a tree using a business card


I selected three tree images to work with - a palm tree, a wind bent coastal tree and a gnarled leafless oak.  I started with the palm tree as it seemed most amenable to working with a card as the drawing tool as well as being a shape where precision mattered.

I sifted the black powder on the glass, set to with a bit of card (not actually a business card as forgot to take one out to the studio), and produced a passable palm tree.  A bit of tidying up with other tools would have made this neater perhaps, but I like the look of it.

I then decided to redo yesterday's image with the card to see the difference.  I thought it would be a lot easier than just working with my fingers, but I don't think it was.


After these two were snuggly resting in the kiln next to day one's piece I decided to do two colour images, just to extend the practise and because I had got the studio to a reasonable working temperature.


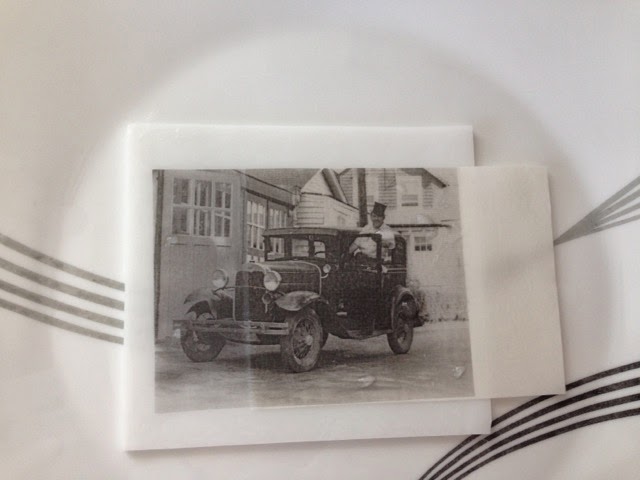
I repeated of the twilight beach with coloured powder on transparent glass- postcard sized, 15x10cm- which would be much better done as a firing of the base colours and then adding the people afterwards.  I managed to open all the jars of frit that I tried to open. The hardest thing was loading the little sieve- a tea strainer where you compress the handle to open the sieve and load powder in with a teaspoon. That was very tricky to manage with my injured wrist.  I used a feather to get the sand ripples- looks good at this stage but I suspect the pattern will pretty much vanish when fired.  A key piece of learning when doing this picture was that one should remove the hanging label from the sieve before working carefully on a two colour image...I got so
me dings in my fresh expanse of colour from the cardboard catching in the powder.

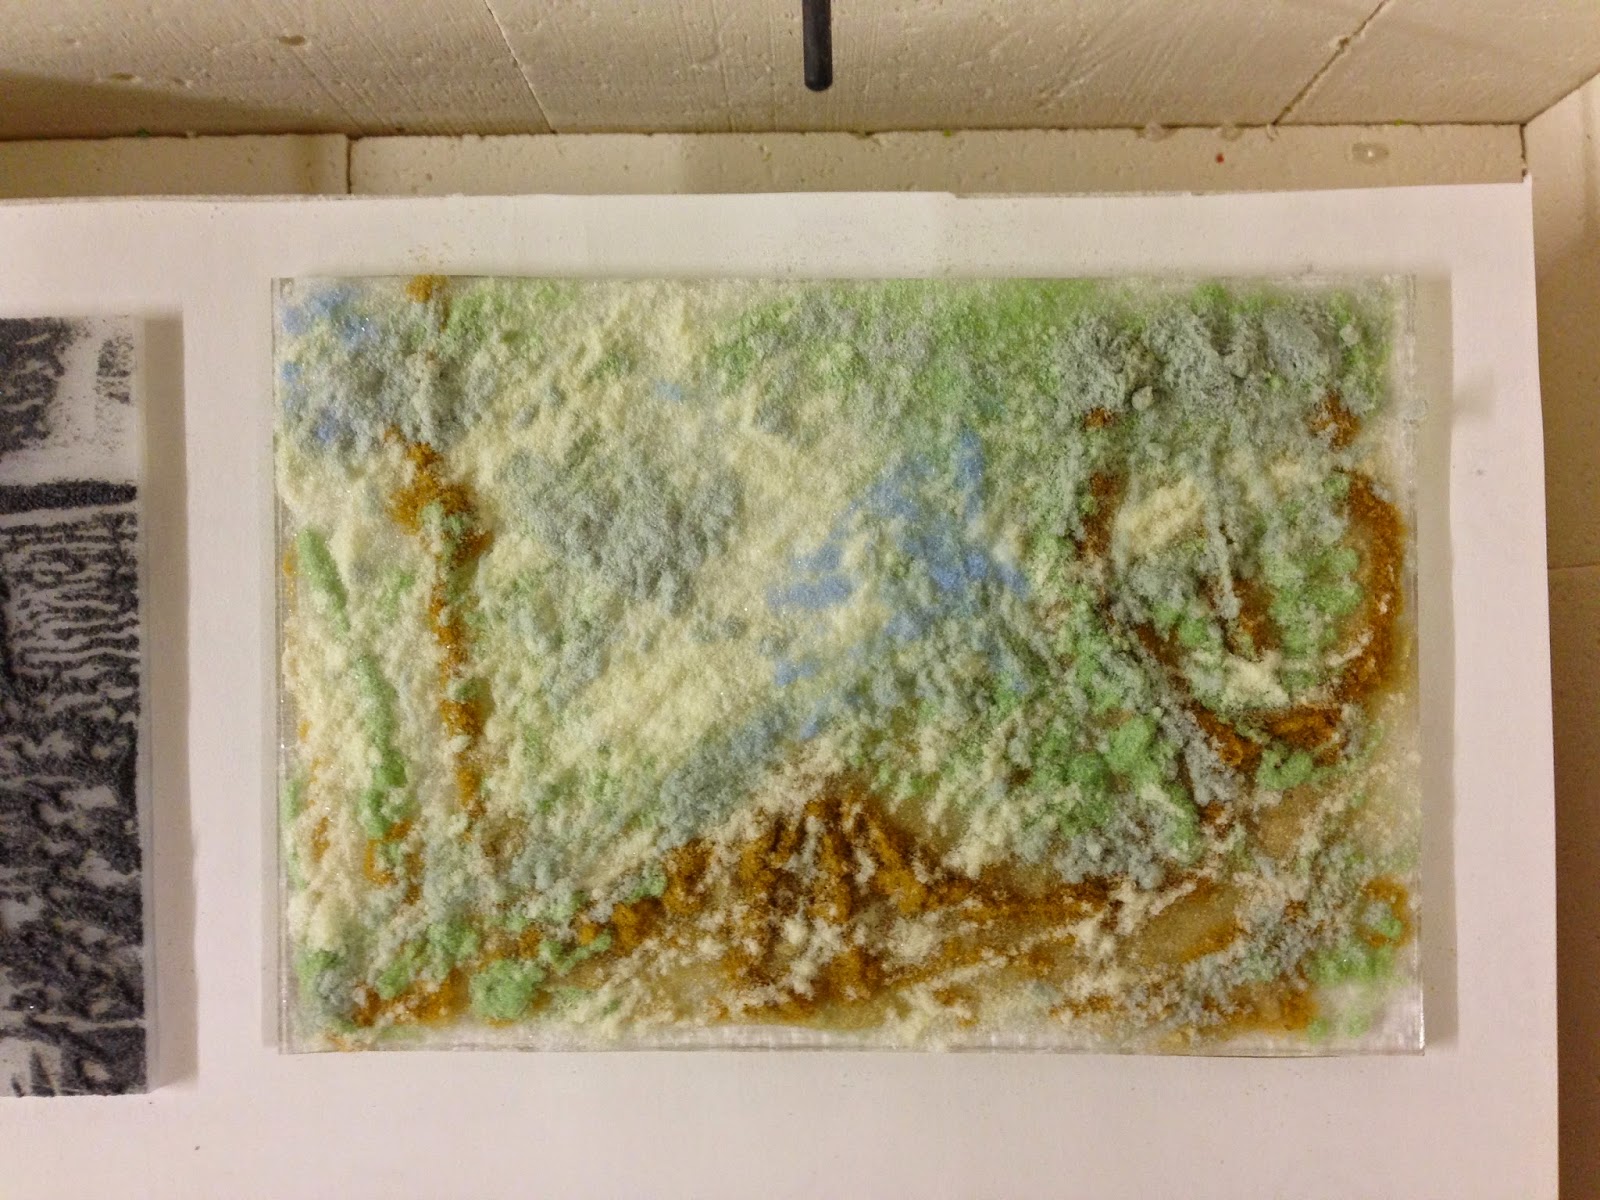
The other colour image was based on a spring woodland image I had lying around the studio- a painting I had done about twenty five years ago.  I started with wet powder, but soon lost any sense of achievement and I have no idea what this will look like when fired.  The key thing is to get me back into using tools and working small with some precision.


So, the kiln is filling up, I'm getting some dexterity and imagining practise, and there is still room in the kiln for another couple of days work.


Thursday 1 January 2015

Jan 1 2015 30 in 30 days sgraffito challenge - day one - draw with your fingers


I've joined an internet challenge to draw a powder drawing each day during January.  I misremembered the recommended size of glass so have tiny 5x10cm pieces of glass rather than 8x10cm...so I'll end up with lots of thin drawings.  It doesn't matter what size glass we use as long as the drawings are done each day, and we also don't have to use glass- a whiteboard and some sand would do to get the principles.

First drawing is based on a photo my sister sent me of two people walking along a beach in the twilight.

First challenge was to draw just with our fingers.  Tricky topic on such a small piece of glass using fingers and no small pointed sticks or brushes, but a good introduction to the activity.  I'm going to keep each days work rather than just drawing and then tipping the powder back in the jar.  I've set up the kiln to put each one in as finished, though I expect I'll do more than just these drawings during January.

Start by sifting black glass powder on a small sheet of opal white glass- wearing a mask to avoid breathing in the powder.

Draw into the powder with fingers to get an image.  
The glass is raised on small plastic cups (I pocket them after trying out teas in the local Whittards). This means it is easy to pick the glass up without disturbing the powder when the image is finished.  The cups are set on a sheet of paper so that the spare powder can be tipped back into the jar


I put the finished drawing into the kiln.  I'll tack fuse them (just enough heat to make the glass stick in place) and decide what to do with the images when I've finished them all.


Wednesday 17 December 2014

the thirty in thirty days scrafitto challenge

Hi fellow enthusiasts, my name is Lois Parker.

I love working with fused glass.

I first tried this a couple of years ago, and got my first kiln about this time last year.  I find the process of having to wait so long (a whole day!) while the kiln does its stuff is very good for me.  I am a hasty person, and the enforced thinking time and not being able to fiddle works well.

When I cook I like to bake- get the ingredients sorted and then wait and see what comes out of the oven.  I've always dislike making sauces- all that tasting and stirring and thinking and modifying.   Painting is a lot like sauce making.  Fused glass work is more like baking.

Great advantage of glass work over baking is that the ingredients and product don't go off so fast.  I also like the way glass can be reused if you don't like what happened the first time, or if stuff is dropped and broken.

This is a bluebell wood I made this summer, rather oddly cropped.  Main computer is off for repairs so just using a picture that happens to be available.


Friday 12 December 2014

Sgrafito challenge


testing the linking process for the 30 in 30 January drawing challenge


Tuesday 18 March 2014

Fusing photographs onto glass

I am still at the stage of wanting to try every technique and process I hear about.  Having photographs on fired glass seems full of possibilities. You need some special transfer paper and a black only laser printer (HP or Canon are specified, but if you knew about what the ink was made of I expect others might do).  I bought a refurbished printer with cartridge off the Internet for less than the price of a new cartridge. The paper I got from Warm Glass.

So, find some black and white photos to try out.  This process reminded me that I am supposed to be writing up all my mother's genealogy work, and I spent a couple of days exploring things such as the passenger ship my dad first went to India on.  I seem not to have got copies of all the pictures I remembered seeing, so they probably haven't made it out of my mother's photograph albums into the digital world.  I do have one nice picture of my Grampa with a swanky car, wearing a top hat.  I printed four copies of this, and also some signatures.  I thought they may work as additions to bigger pieces I make so am testing them at the same time.

After printing the images onto the paper you cut them out and soak them in warm water for a couple of minutes until you can feel the image coming loose from the backing paper.

soaking photo in clean warm water
Slide the image onto the clean glass.  I found it worked best if I started the image moving by pressing and sliding the picture between my thumb and finger, and then continuing the slide onto the glass.  The backing paper doesn't peel off the way backing on sticky-backed plastic does.  Be gentle.  The filmy layer can be adjusted once on the glass, but it is best to be slow and steady and get it right.  Once in place, dry with a clean paper towel and smooth out any bubbles.

sliding photo onto glass

Fire in a kiln.  The guidance suggest using the photographs on the last stage of any firing process.  I had thought I would make a load of images and have them ready fired on pieces of glass to add to projects, but it would be better to keep the photos handy and transfer them onto glass projects before any final shaping.  As the transfer paper is the expensive bit of this process it makes sense to fill the page with lots of images before printing. I haven't seen anything which suggest these images must be used promptly once printed.

I used four different types of glass. The guidance said the images worked best on pale opaque or pale transparent glass.  I used my usual white, a pale creamy coloured glass, and two transparent glasses I didn't know much about as I got them in an end of stock sale.  I fired them on the cycle I use for my Bullseye landscapes, which makes all the glass stick together but keeps the edges crisp and the texture clear.


Stage        Rate C/hr       Temp C      Hold mins
1               222                 677            30
2               333                 750            10
3               AFAP             482            60
4               83                    371            End


I filled in the gaps with some other small pieces.


The glass changed colour quite a bit - with the pale yellow glass becoming a deep golden colour and the pinkish semi transparent becoming an opaque peach.  These glasses may become even deeper colours if fired higher.  There are some types of glass that change with heat, called strikers, as, to keep them reliable in the studio they are made with less heat in the forming stage.


The photo on the white is easy to see, as is the cream.  The cream tones suit the sepia of the image and the subject matter very well.  The peach glass looks a bit weird.  The golden translucent glass is stunning, and the image shows well enough with a white background but it gets lost against a mottled dark background.


This is certainly a technique I shall use some more.  The challenge is to think of ways to use it which are more interesting than just printing flat images on plain glass.


Saturday 1 March 2014

A luscious toffee-coloured slumped bowl


So the grand adventure of learning how to manage glass in a kiln begins.  I've been pre-firing and priming plaster molds and tack fusing multiple layers of glass, and this morning I took a bowl out of the kiln.  I had to wait a long time for the kiln to cool, as the large plaster mold means the kiln takes even longer to cool to room temperature.  Glass is temperamental and doesn't like thermal shock, so I am learning patience.

I bought a piece of opaque toffee coloured glass at Creative Glass Guild- they are switching to only carrying Spectrum glass so the Bullseye glass is being sold at a discount.  I tried to make myself stick to just one of the types of glass as they behave differently in the kiln and cannot be mixed.  They have such different characters though that I cannot do that, so my glass filing/labelling has to be well managed.

The toffee coloured glass is an odd colour for me to choose, but I want to be sure I don't just end up with a sea of sea-coloured glass just because I love it.  I have a friend Murgatroyd & Bean who always adds a shot of a colour that she wouldn't normally think went with her palette at a late stage in each of her works, and this gives her work an extra bit of zing.  Now that I have used most of this piece of glass I suddenly think I should have kept it for beaches in my seascapes.


The base layer of this bowl is clear glass, and I scattered bits of adventurine green stringer and orange frit and small pieces of red and orange glass on top.  I tack fused this so that it kept some of the raised texture but was firmly attached.  I placed it carefully on to of the mold I wanted to use only to discover that I had measured the bottom of the mold not the top, and the glass was about 5mm too large.  If glass overlaps the edges of the mold it can drop down the outside and snag and pull the glass apart and possibly even break the mold.  I did wonder whether to see what happens, in the grand spirit of adventure and a desire to make lots of learning opportunities in this early stage…but then I decided to be cautious and placed the glass on the very large platter mold instead.


I have read that one should look in the kiln when slumping to make sure that the work has enough time to reach the shape you want.  I am still trusting the pre-programmed firing cycles.  I presumed that this would be sufficient for this quite simple bowl.  However, the very centre of the base is shiny and slightly raised where it didn't quite reach the mold.  Next time I should increase the amount of time the kiln stays at the stage the glass is sinking into the mold.  Unfortunately the book I have looked in, which I bought as it had graphs and data rather than just instructions and pretty pictures, doesn't make it obvious if I increase the short time (ten minutes) at the top temperature of 704C, or the long time (1.5 hours) at the next stage at 516C.  More research is necessary.


Looking carefully at the bowl, with my learning rather than admiring eye, I also notice some small patches of less shiny glass.  There seems to be several of these areas, which look like areas of glue or some other contaminant.  Not sure what caused them, as I did use glue to stop the stringers rolling around before the tack fusing stage, but it is special fusing glue that burns off in the firing.  I didn't manage to get them to show in the photo, but they do mar the lovely glossy finish.

Today the world is lovely and sparkly, with frost and sub-zero temperatures.  My studio, which is the garage, will be too cold to work in, so I'll have to restrain my enthusiasm and have a day without cutting lovely sheets of glass into smaller and smaller bits.